Thursday, January 24, 2013

OpenROV Build Day 6


A tedious build session. First part is setting up connectors for the LED power, which
connects to a PWM output on the OpenROV cape. Second part is connecting Molex pins to the electronic speed controllers for the
thrusters.


Cut the ends on the LED power so they they are the same length, then wrap the positive (red) leads and ground (black leads) together and solder.
 
Shrink wrap the ends with a short piece of the small blue shrink wrap.


OpenROV Build Day 9

 Beaglebone and cape hooked up to network and power. Using a PC 12 volt power supply for testing. My mac did not recognize the 10-BaseT single twisted pair, but worked after it was manually connected.
 ESCs in place and conected to power bus. Power to Beaglebone is on the wires that go throught the USB hole.
Although the SD card did not have an image on it, it was easy enough to write using dd. This shows the Beaglebone booted and trying to serve video. It found a camera, at least.

OpenROV Build Day 8

 Mount motors and wire on double sided sticky tape.
 Good for working at any angle
 Liquid electrical tape, coat 1.
 Wires are color coded by motor and by lead.
Liquid tape over shrink tube.
Starting to pot the battery cases. No more pictures from batteries -- expoxy and camera do not mix well.

OpenROV Build Day 7

 Electronic speed controllers with pins in Molex connector.
 Power bus (one for 5V, one for ground)
 Power bus hot glued down on chassis.
 Power leads and capacitors threaded through bulkhead.
 Electronics packed into payload/control tube.


Monday, January 14, 2013

OpenROV Build Day 5

Parts for the electronics chassis laid out. This is a tricky assembly. It's important to get the chassis squared up, and the center of the servo should align with the center of the endcap. 
Camera mount with LED shields added. These shields keep the glare of the forward facing LED arrays from interfering with the camera.

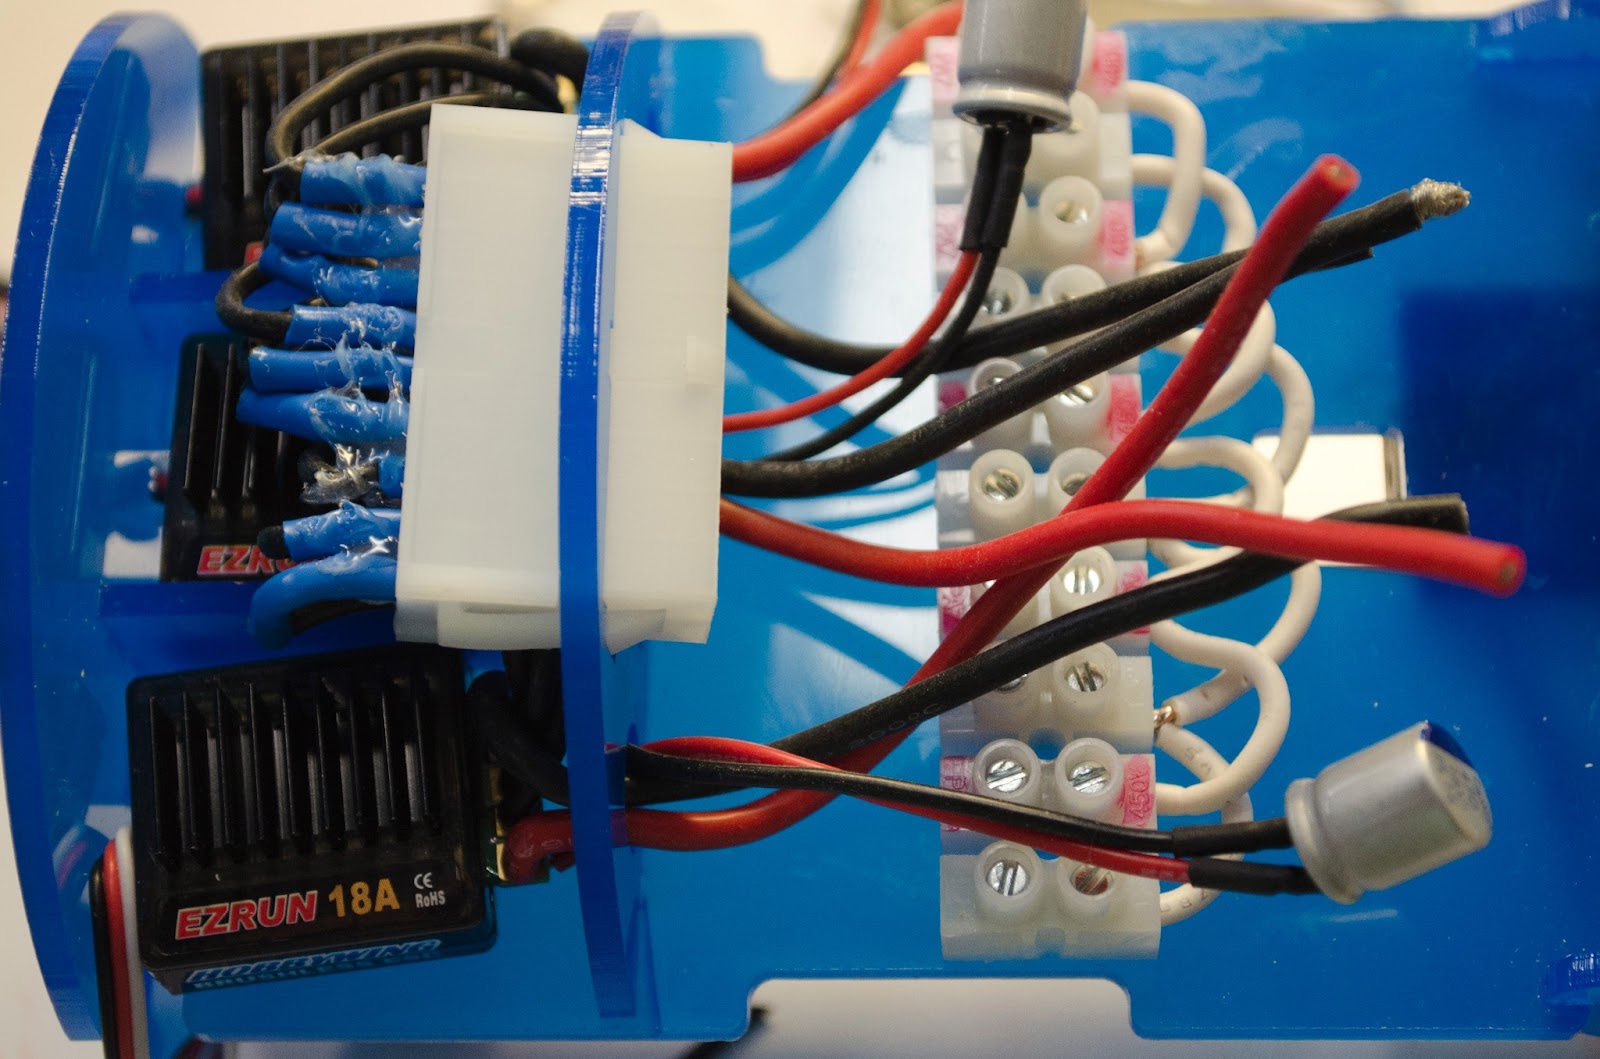
The motor controllers are mounted in a group of three on the side away from the Beaglebone.


The end cap is tricky to put on. Glue on the fingers means fingerprints on the plastic.

The Beaglebone goes on this side. The plastic arrived pre-discolored for my convenience. I don't think the fish will care.

The other end piece is asymetric. The servo mounts offset with the axis in line with the center of the tube.

The whole platform should be square, which is tricky. If you were building more than one you would get good at this part.

It does slide into the tube, and rotates fairly smoothly. I'm worried about whether the servo will be strong enough to rotate the whole platform.

The camera mounts on the back of platform, and is held down with zip-ties. These are not the reusable ones that come with the kit.

The LED arrays are glued down. I used five minute epoxy. I glued a short strip of zip-tie tip to the ring of the lens, which allows manual focus. The lens ring is hard to manipulate without some sort of handle.

The OpenROV cape fits onto the Beaglebone. Watch out for bent pins (often happens on the outside pins). Straighten carefully before seating the cape. This takes a good bit of force.

These are the components for the tilt servo. There were no instructions in the assembly video, and none of the mounting components appear to be used.

Instead, use these four pieces.

I found it easier to put the nuts on the outside. Tighten with a nut driver, or use small pliers.

The whole assembly is held together with a reusable zip-tie. The camera platform is held down by the pressure of the tube.

OpenROV Build Day 4

Parts for the thrusters. Three fans, three motors,
and some plastic custom adapters.
The outside shell of the motor is held on with a C clip around the shaft. The clip does not appear to be necessary, which is good -- it has to come off, and I could not get them off without damaging them.
I pried the clip open with a probe and a screwdriver.  Once they come off, the shell lifts off. It's held in place by the magnets that make the drive go.
After the housings come off, it's time to remove the shrink-tube and wires. They will get replace with longer wires and liquid electrical tape.
The blue plastic adapters press into the fan. Note -- this one had a lip of plastic around the bottom, and did not slide in all the way. They are a tight fit.
Once removed,  it's time to solder the wires on and to re-insulate them. I'll get back to that shortly. Waiting for replacement wire from the OpenROV folks.


Sunday, January 13, 2013

OpenROV Build Day 3

End caps for the payload tube. A better glue dispenser would be better. 


The end caps are symmetrical.

Construction of the battery enclosures. The wire is marine grade hookup wire, and the kit has almost enough. The wire is also used for the motor hookup (see the next blog entry).


The end caps for the battery compartments are stuck down with double sided carpet tape,
and the wires are taped down to keep them from lifting the terminals. I should have used the tape to hold down the terminals at their corners.